As it happens I am managing and organization on github which has been both easy and sometimes tricky. Many a times it has been tricky due to the way github decided to manage projects and project related settings.
Github provides a good way to start an opensource project by providing a set of services such a project needs - all in one place. Although, there are gaps in the user experience and documentation. A lot of this becomes more painful as you try to manage projects from within github. Github actions get even trickier to implement because of security and access protections and concerns.
I learnt the hard way how to do some of the things while using github and here is an attempt to write some of this as documentation so that it helps someone trying to get work done.
Security for github actions
Github provides you two ways to be able to trigger and run the github actioins - using a personal access token or creating a github app. Now creating a github app seems to be what they would like to nudge people to do - but the steps involved are so many and the process so complex that we choose to stick with the access token. If you are trying to leverage github actions to build a unique and useful workflow github apps would be the way to go. This is how the apps in the github marketplace are built.
Given that all we needed to do is run a set of available github actions under some user account, we choose to use the personal access tokens for our case. Github actions are run on behalf of a user account on github. Any such user account can be used to generate a personal access token and this token can be used as a secret for running github actions. This personal access token is secure because it is generated once and never shown on the screen. This token can be downloaded and used by the owner as they choose. Github got this part right - the security and secrecy of this token should be left to the humans - and it relies on the human to make sure that this token is copied and used appropriately instead of doing some magic behind the scenes. If the owner loses the token or it is compromised github provides a UI to re-generate the token as well. Re-generation will cause the previous token to become invalid - another good security feature.
We use a personal access token which is owned by a team member to ensure that this secret is owned and updated by this person and becomes a responsibility (a physical key instead of something controlled by an algorithm/machine).
The Missing documentation
You can find the documentation about the steps to create a personal access token - Creating a personal access token. Although, it is not documented how to use this in practice. I will walk you through the process below.
Generate the token
Personal access tokens can be created by one of the maintainers on the project/organization. If you are the maintainer, go to Settings and find Developer Settings as shown here.
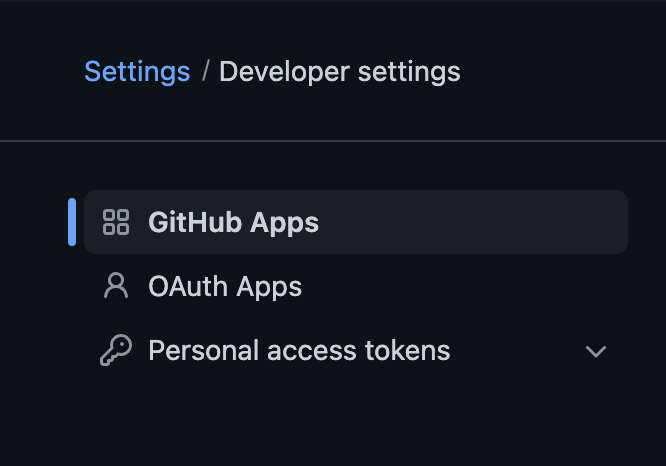
Find the personal access tokens section and the Tokens(classic) under it

Generate a new token
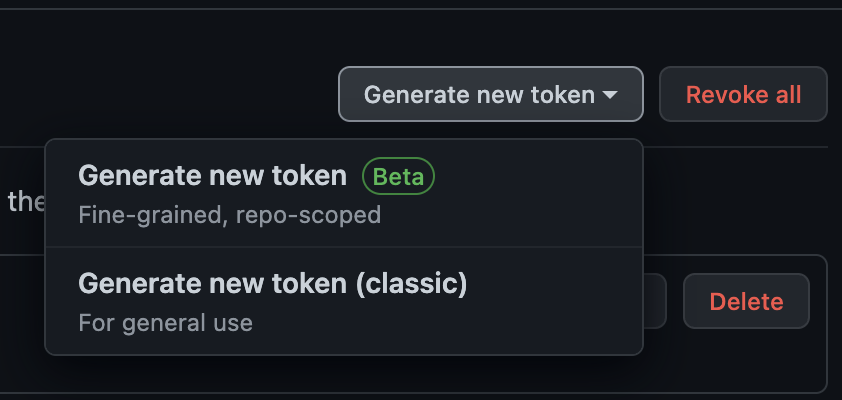 (remember to choose the classic token)
Pick a name for the token
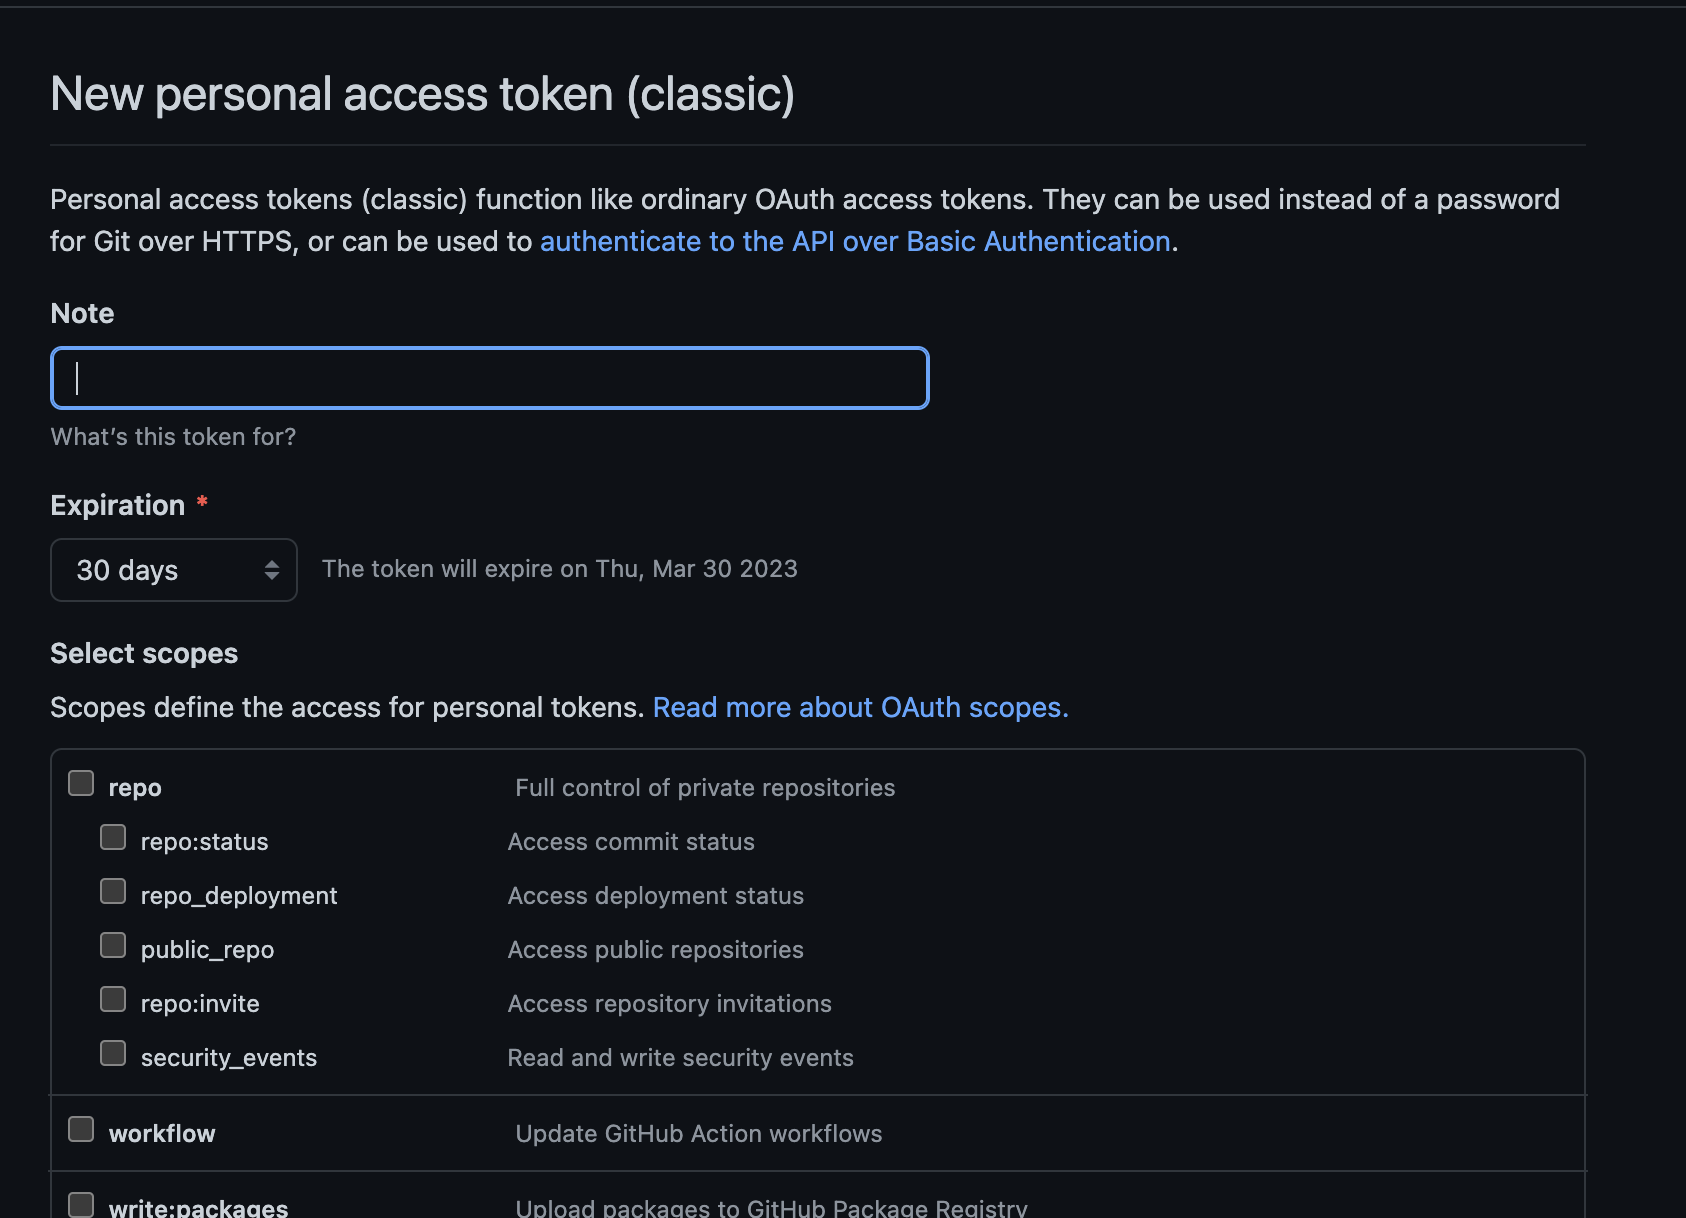
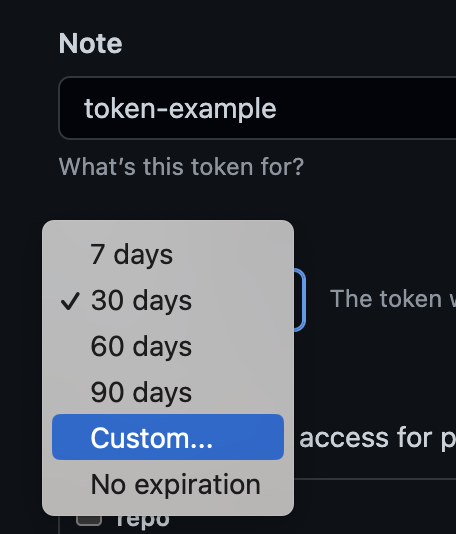
Set a decent expiration time. On expiration you will need to generate another token and follow this process again. So ensure that the expiration time is not too short or you will have to repeat this process more frequently.
Select the appropriate permissions for your project and then generate token.
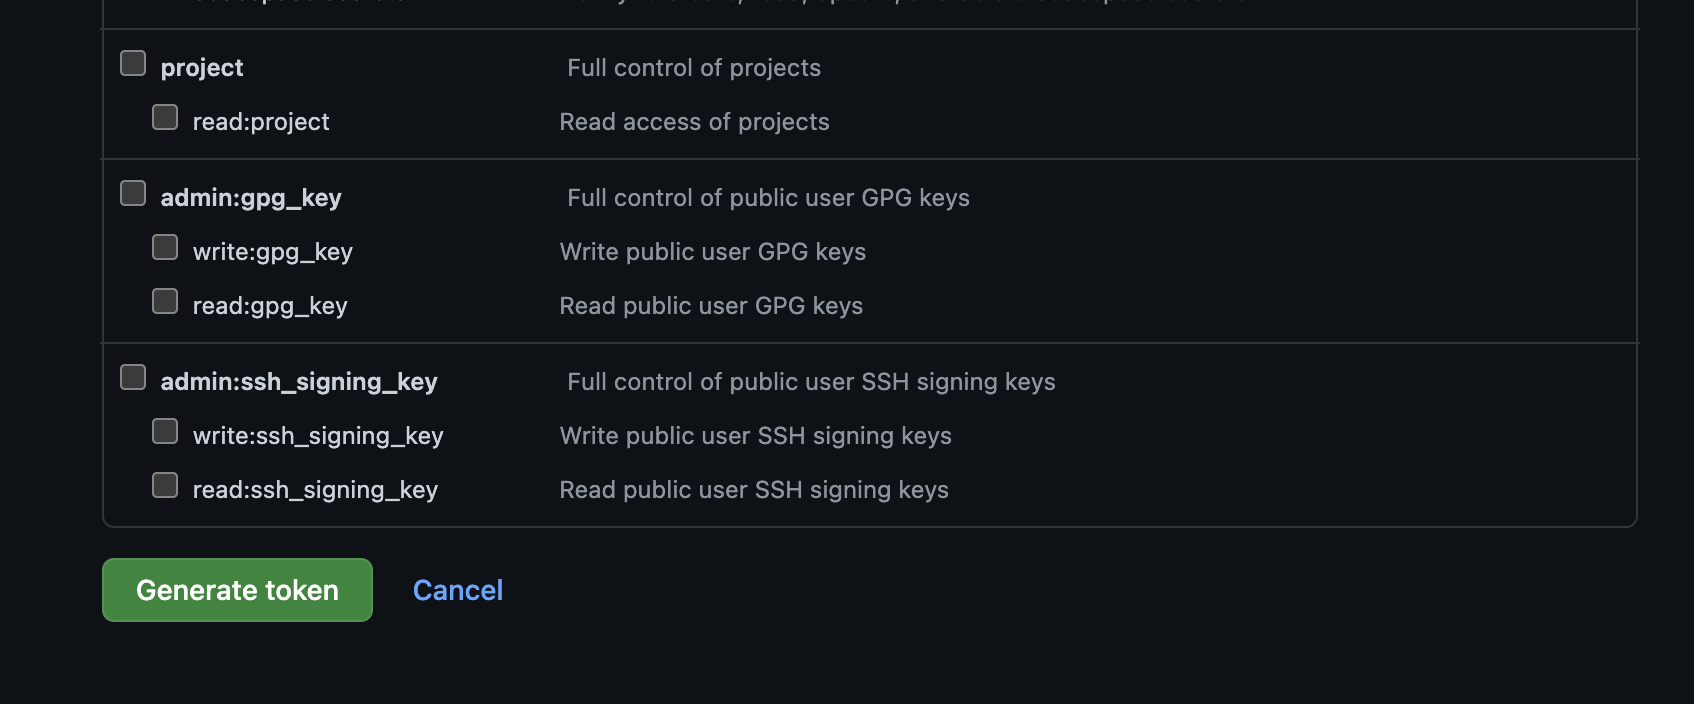
!Important! Remember to copy the token to your clipboard and save it somewhere safe.

This concludes the part of the process where you have a token that you can use for the automations.
If you followed the instructions so far and are wondering why is it so esoteric and hard to use, you are not alone. Just bear with me a little more and you will have completed this process and will not have to worry about it(or even think about it) anymore.
Use the Token
Once you have generated this token and copied to some place safe, it is now time to use it. Using it is not that straightforward either, because the documentation abruptly stops and does not explain the terms clearly.
I will try to spell out smallest details so that it connects the dots between the documentation and token usage.
Now headover to the project organization where you intend to use the token for github actions automation.
Find Settings for the organization. Under which you will find a lot many things on the menu, try to find the Secrets and Variables as shown here
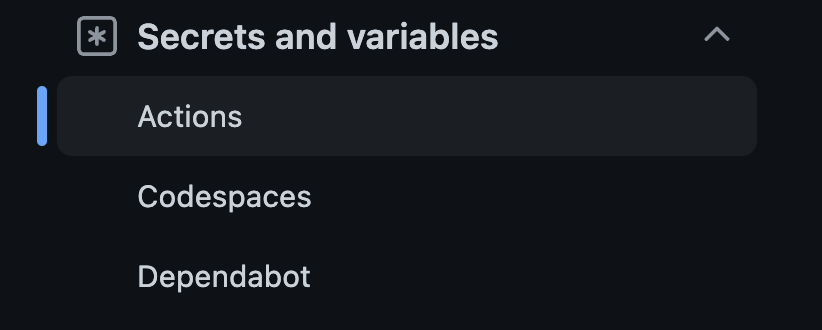
Once you find that find the actions secrets and variables
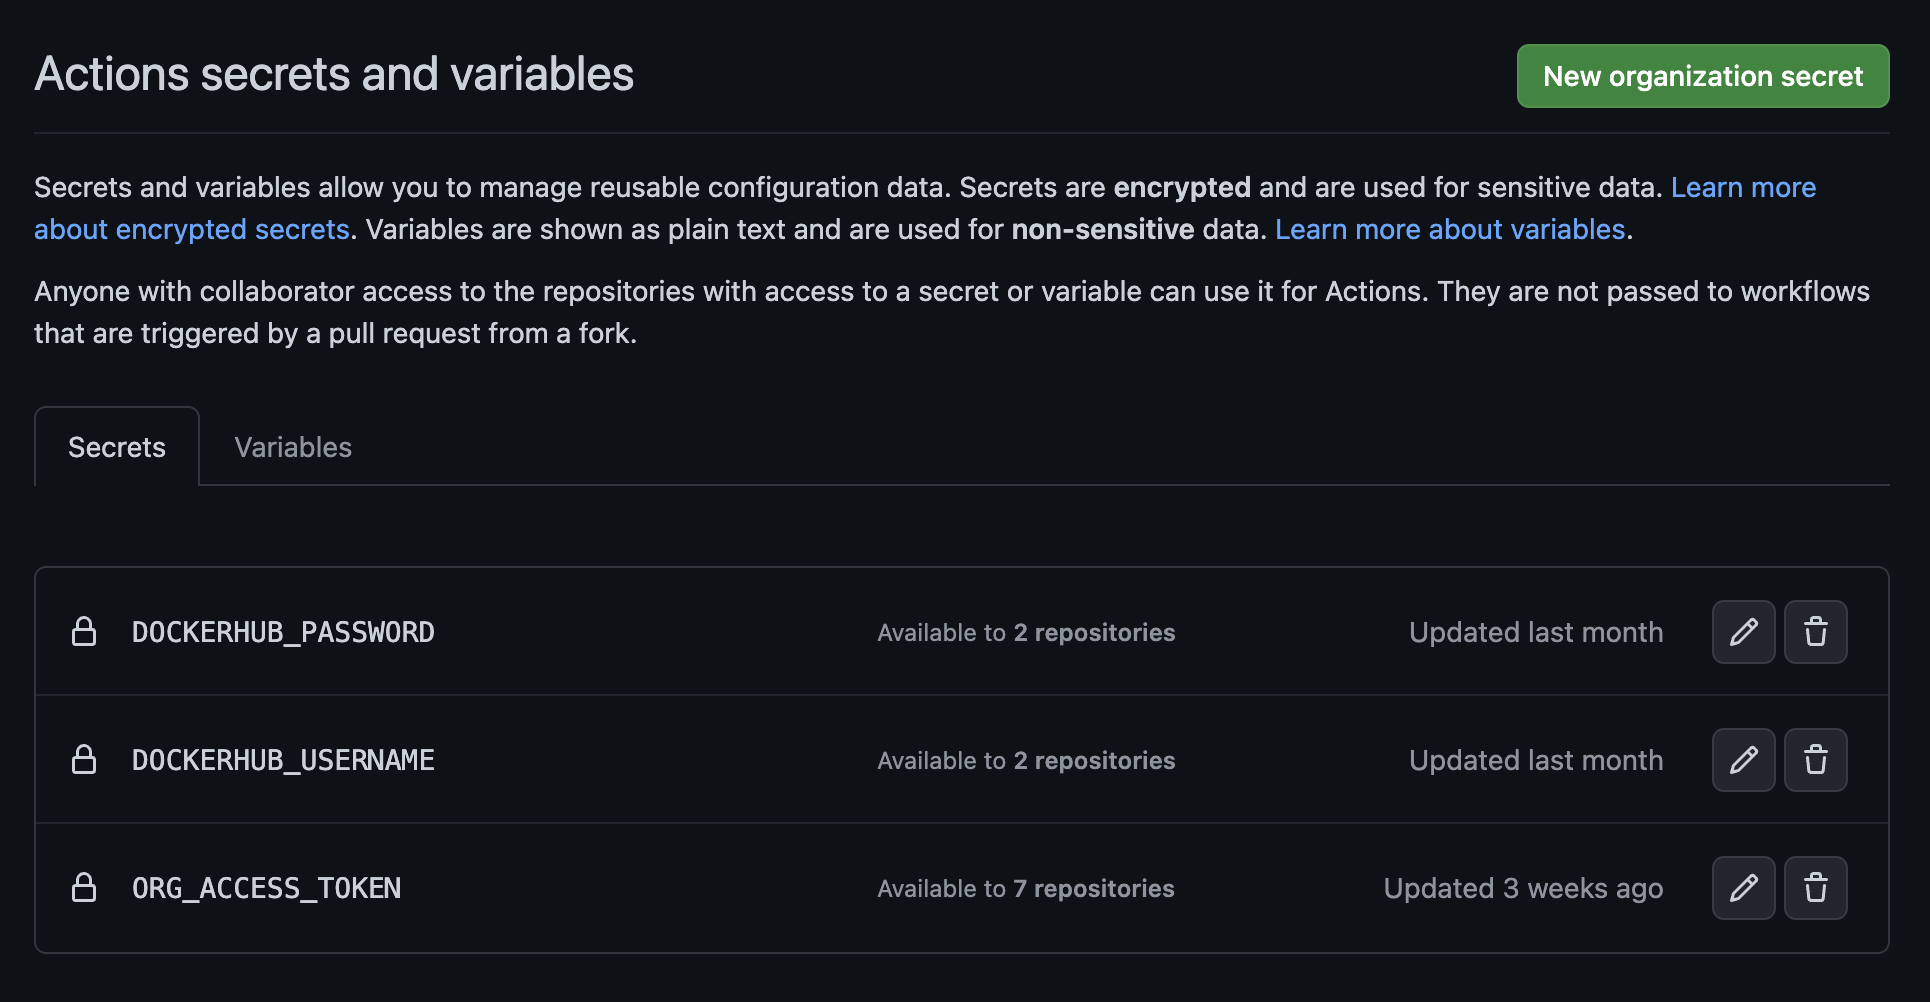 Pick the one that is called
 ORG_ACCESS_TOKEN since this is the one that is used by the actions you write. In you actions though it will be called GITHUB_TOKEN environment variable thus confusing you even further.
You will come to a page that show cryptic information without giving you the ability to change/update it. You will see a enter a value link to copy over your token. That is why you came here, that is why I had to write this documentation because they tried to obscure it, but in turn made it hard to use.
Anyway, click on the enter a value link
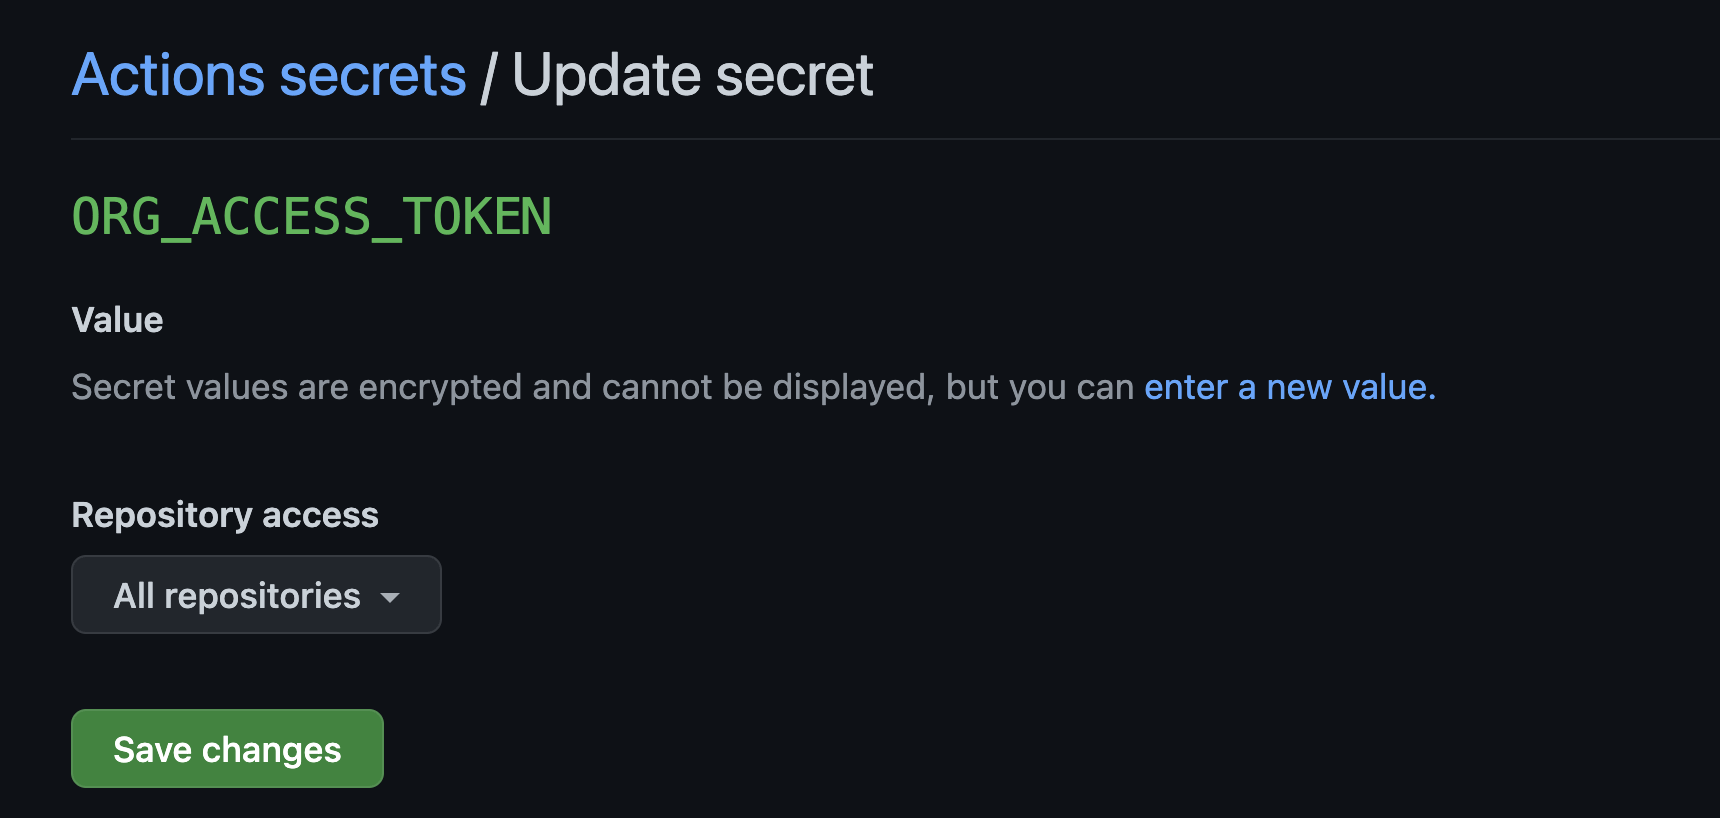
You will now be at a page that has a text box where you can paste the token. Remember to paste the token and click save changes.
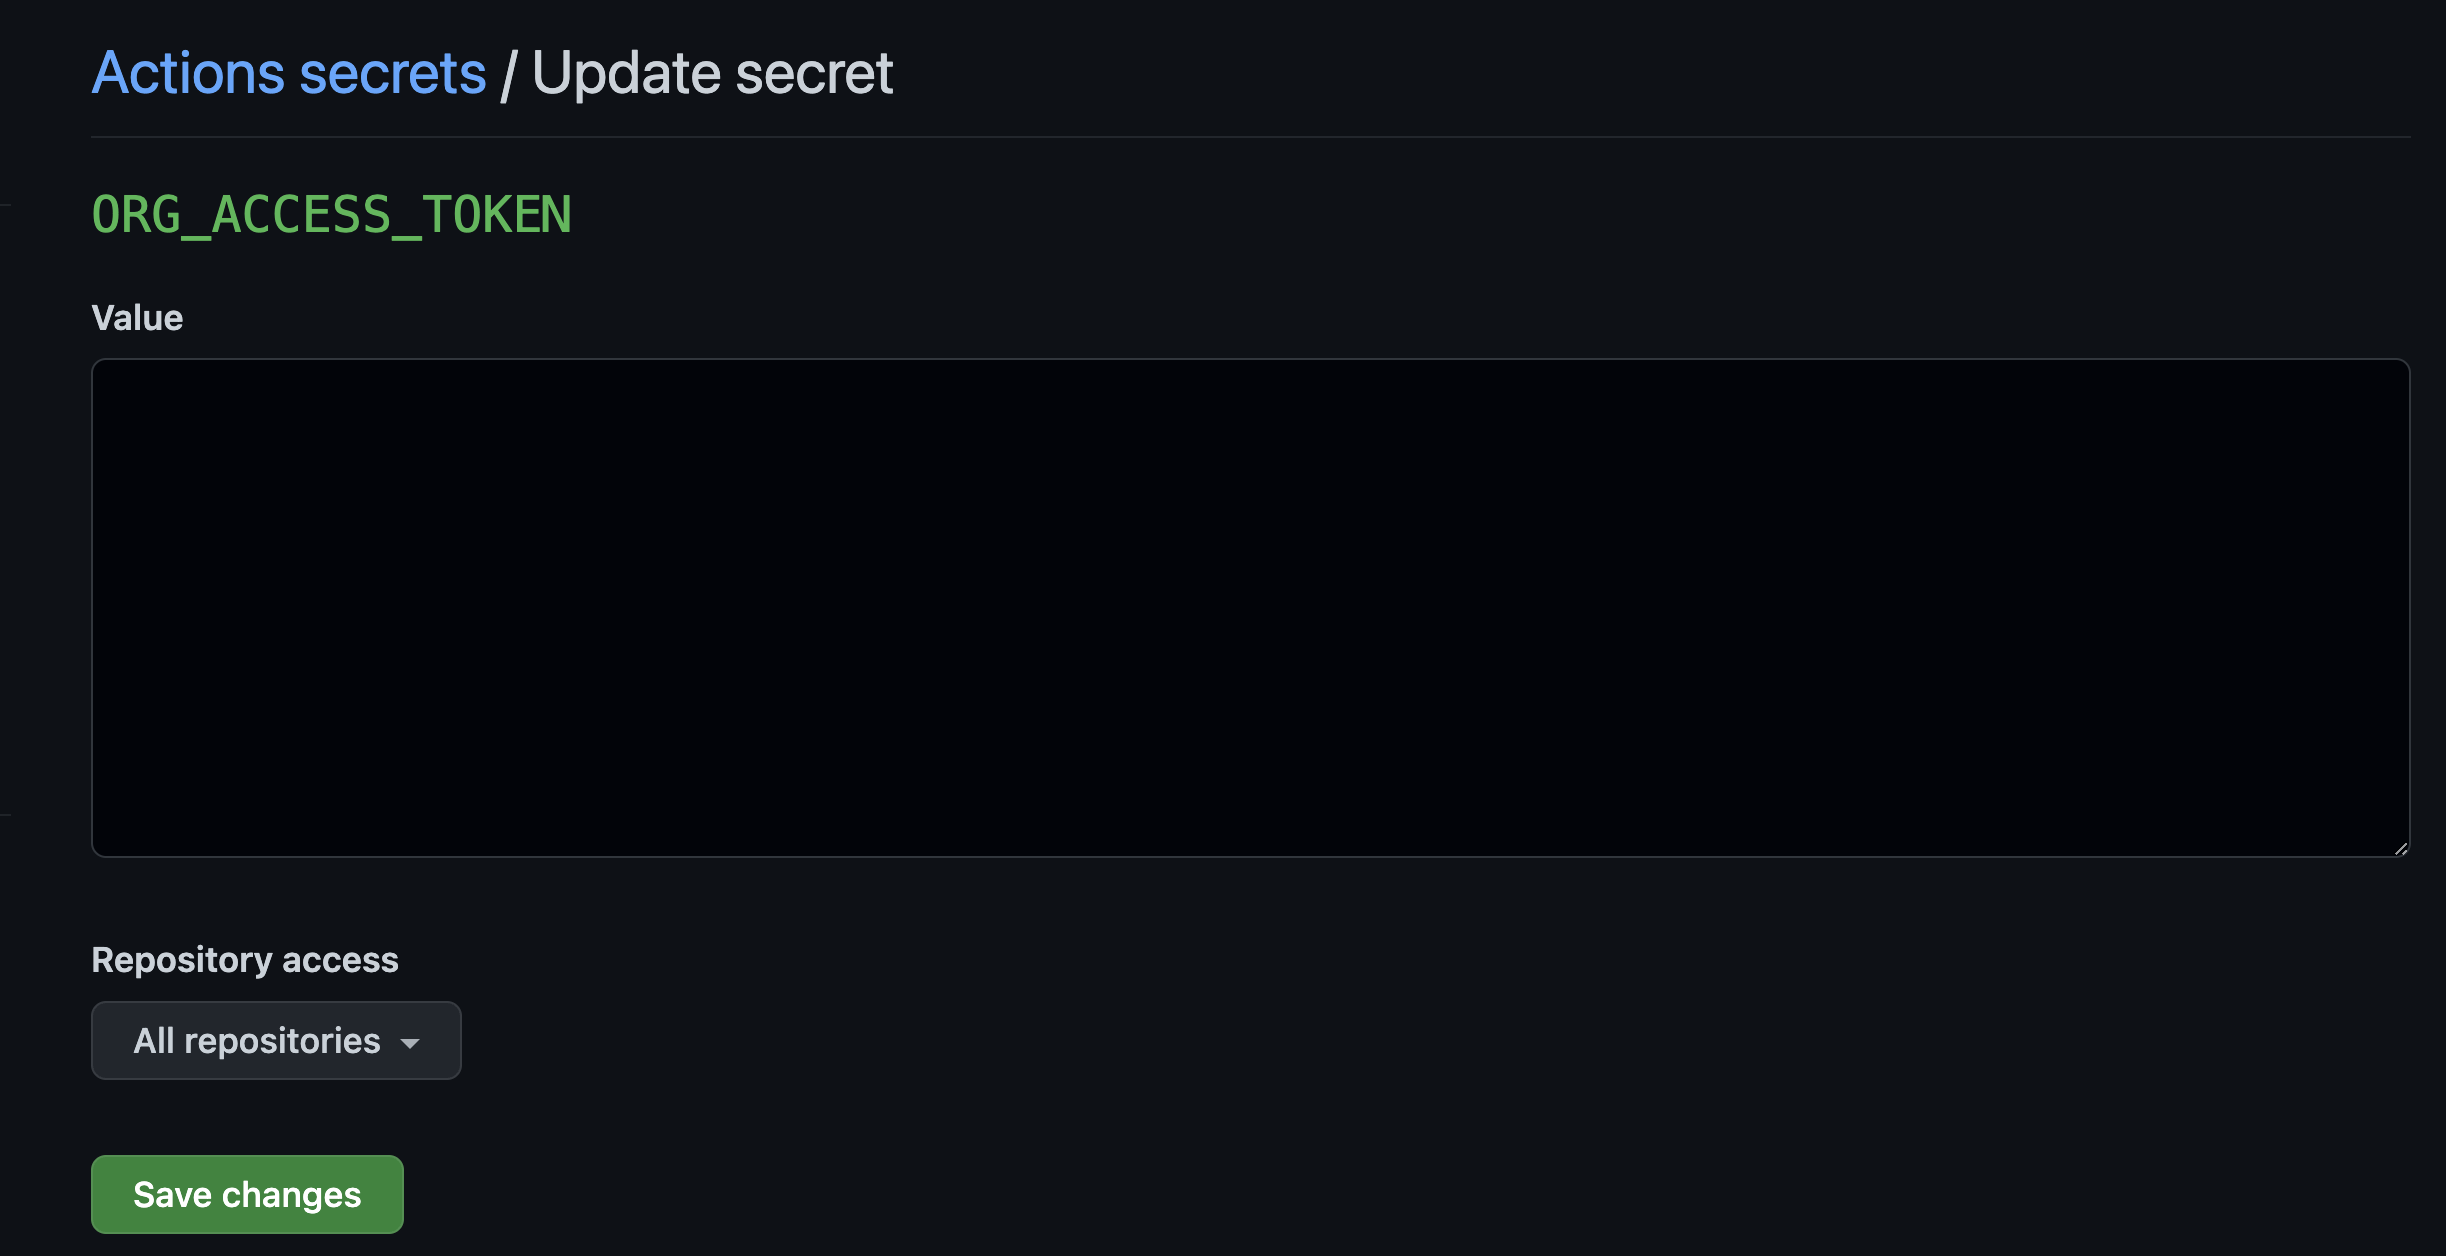
With this you are actually done. One thing you should double verify is that you are using secrets.GITHUB_TOKEN correctly in your code. If you need a reference take a look at how we are doing it for the Pyrsia project workflows.
Phew! I hope this is useful and does not cause you the same pain that I endured after I had to discover this process time and again. I hope this helps me as well :)
 Sudhindra Rao
  Concurrency in Rust